
5 Tips To Be An Organized Holiday Host/Hostess
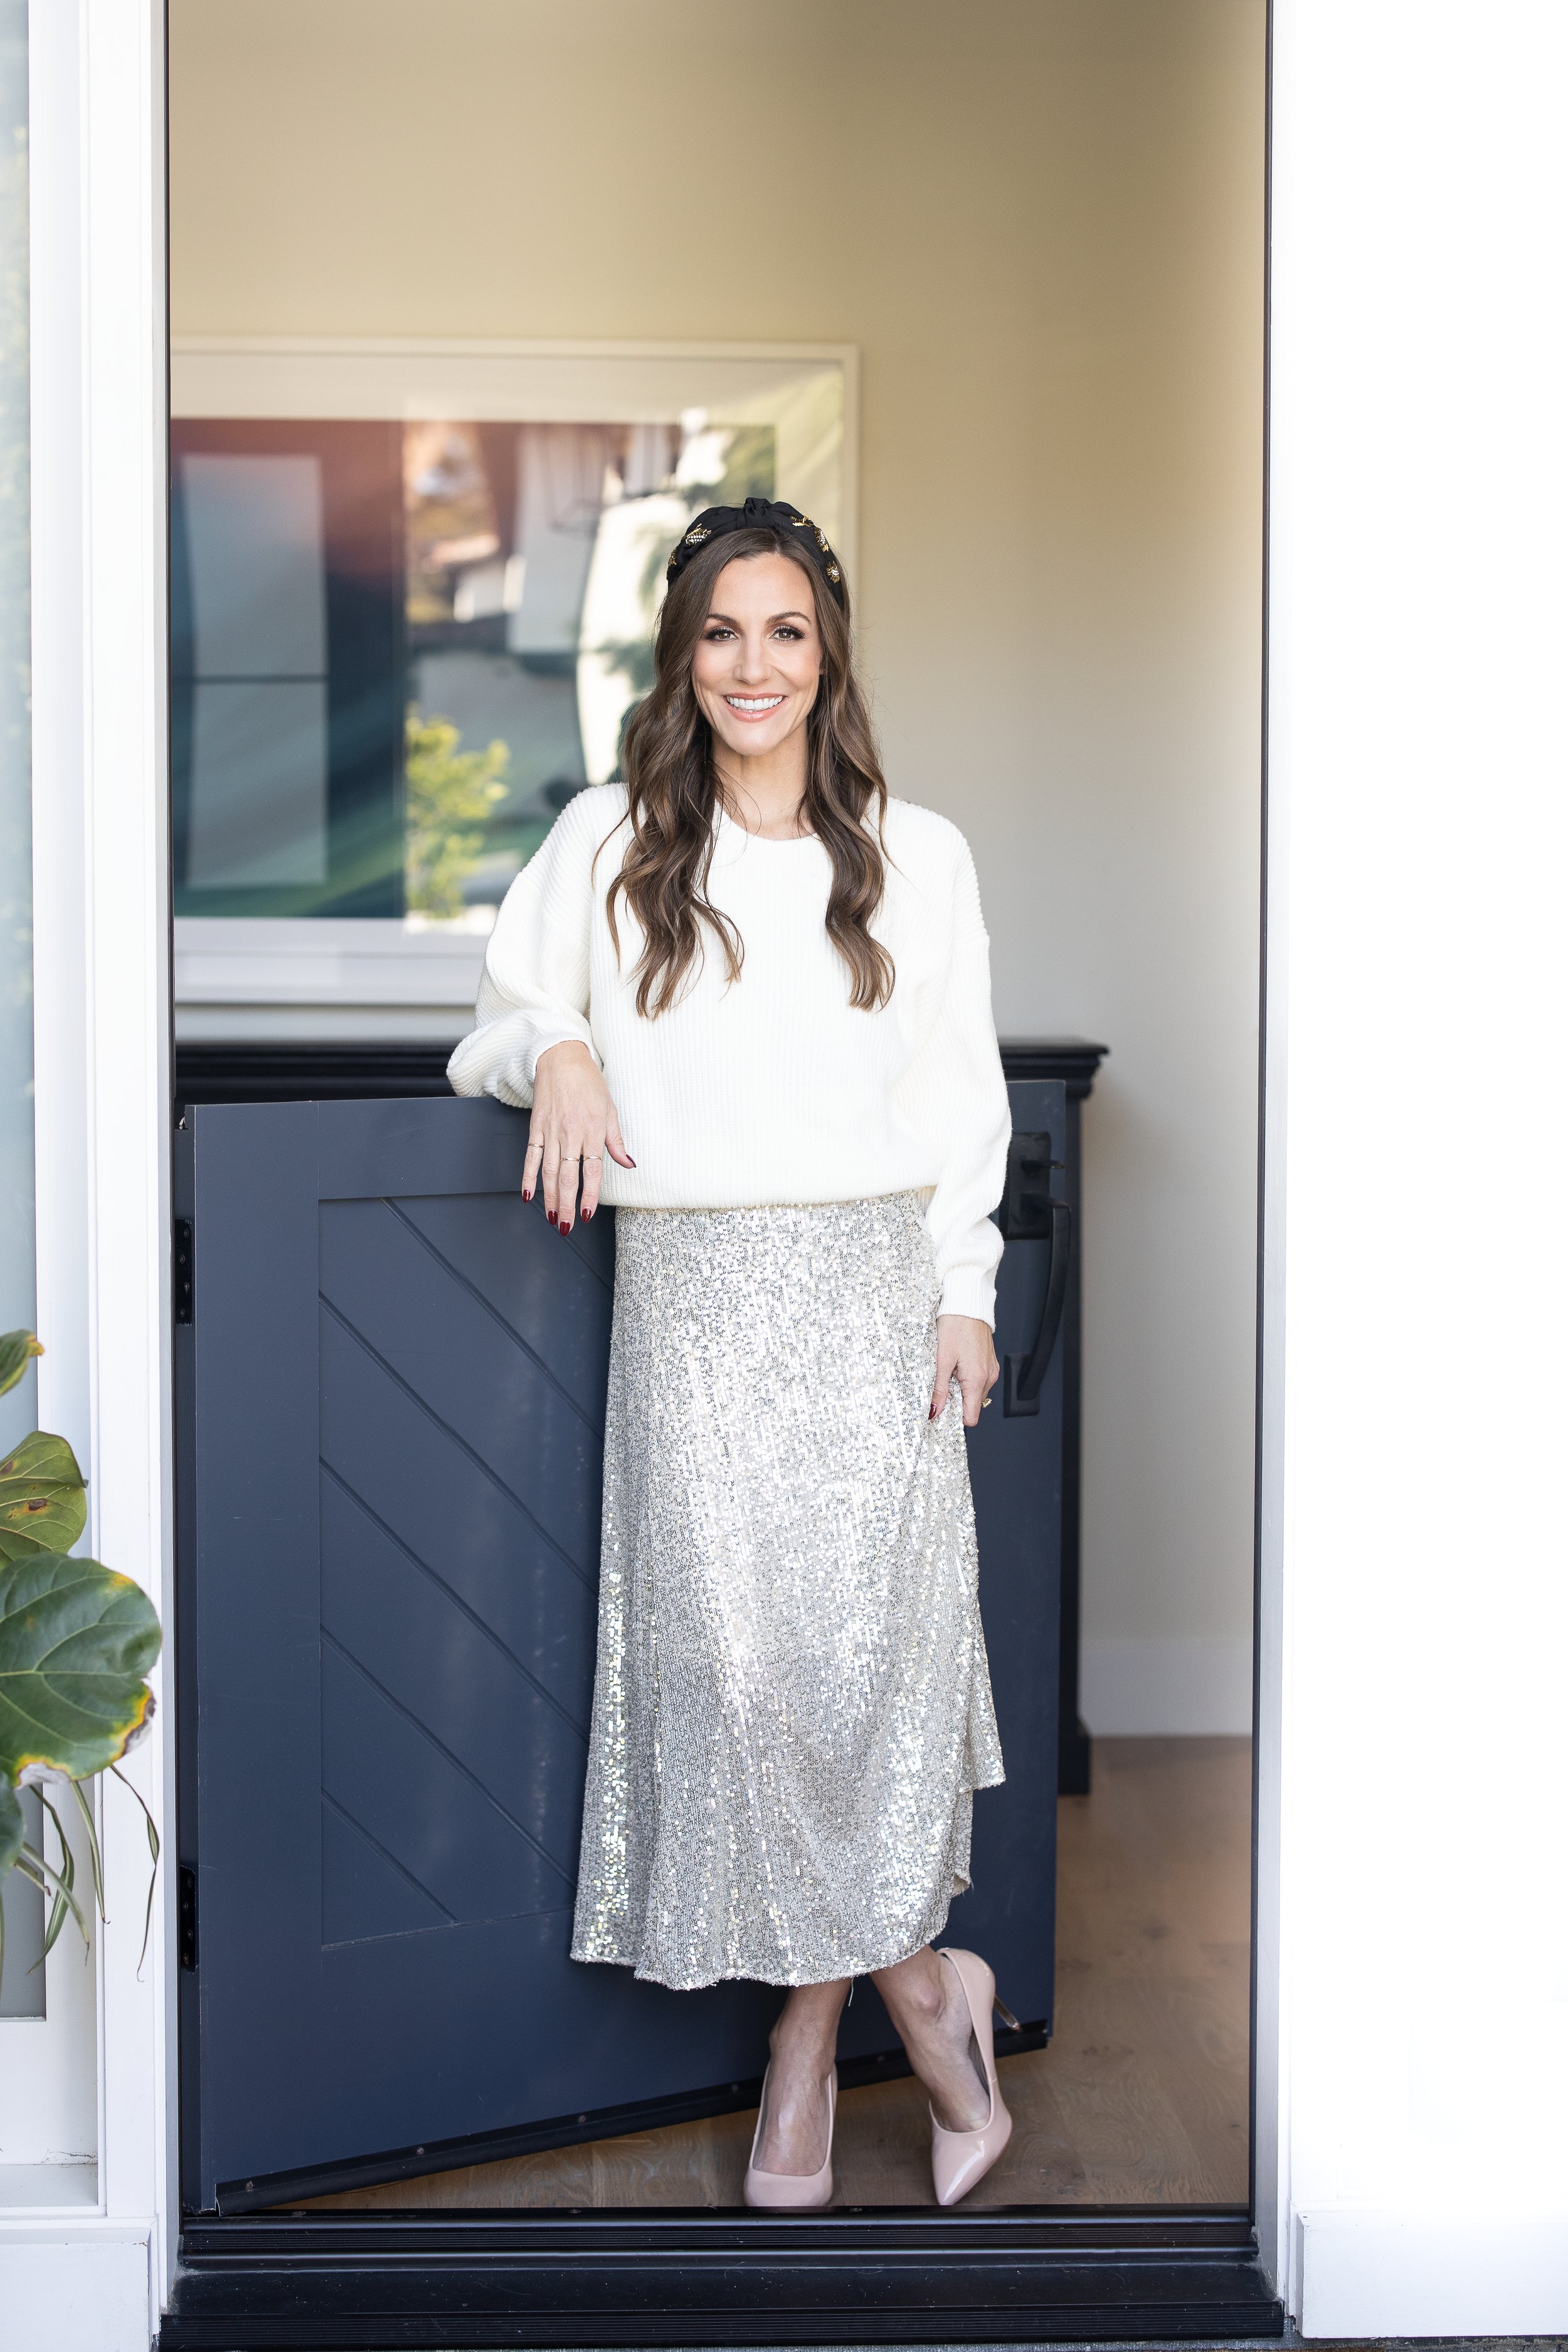
Tis the season for gathering with loved ones to celebrate the cozy winter season, upcoming holidays, and family (& friends that feel like family). I think we can all relate to the feeling of wanting to be the perfect holiday host, but I think we have also experienced the stress and chaos that typically comes with entertaining. My greatest hope for you is to experience the bliss that comes from entertaining, without the added anxiety. Keep reading for my top tips for party and event prep.
Tip #1-Checklist
If you know me, you know I swear by a party checklist. It’s as easy as starting a list on your notes app (or any other platform you prefer). I like to do a couple different lists, one for the general timeline and one for the specifics. Here are examples for both of these types of lists:
Timeline Checklist:
5 Weeks Before Event
Create A Budget
Pick A Date/Time
Create A Guest List
Plan The Menu
Order Any Catered Food Necessary (This Includes A Bakery Dessert)
Take Note & Order Any Decor Necessary
Send Invitations (Or Text/Email Your Guest List)
Book Any Rentals You Need (Table, Chairs, Tent, etc.)
1 Week Before Event
Plan/Shop For Your Outfit
Stock The Bar (Alcohol, Ice bucket, Mixers)
Create Your Playlist
Line Up Any Help Needed (Friends To Come Early, Cleaners, Gardeners, etc.)
Send A Confirmation Message About To Guests
2 Days Before Event
Clean Out Refrigerator To Make Space For Perishable Party Food
Grocery Shop
Pick Up Any Rented Items
Iron Your Linens
Clean Up Your Exterior House
Day Before Event
Clean Inside Of Home
Set Up Decor/Tablescape
Prepare Any Premade Food
Wash Serveware (Platters, Cake Stands, etc.)
Set Out Serveware & Label Them With The Dish Associated
Freeze Aluminum Plans (I Will Explain This One In Tip #2)
Day Of Event
Buy Ice
Prepare Last Minute Food
Check/Restock Bathrooms With Toilet Paper And Other Essentials
Tidy Up Any Recent Messes
Set Up Meal Zone (Place Food On Platters And In Bowls And Set Them Out)
Put Drinks & Glasses Out (Chill Beverages 3 hours Before)
After I have my timeline checklist, I like to create sub category checklists so nothing gets missed. Here are some examples of the topics for each sub category:
Appetizer List
Main Menu List
Dessert List
Grocery Shopping List
Guest List
Interior Cleaning List
Exterior Cleaning List
Decor List
Bar Menu List
I know that writing all these lists can feel tedious, but I promise they will save you so much time (& sanity) in the long run.

Tip #2-Freeze Aluminum Pans
This tip is a game-changer for keeping your food fresh & cool! The night before your event, fill an aluminum pan with about 2 inches of water. Freeze said pan filled with water, overnight. Right before your event, take out the now frozen pan. Layer your pan of fruits, veggies (or any other cold perishable food) on top of the frozen pan.
Now I know what you are thinking, this is functional, but how can I make it aesthetic too? I love to place a beautiful towel or linen cloth around the exterior of the pan to keep the actual pan covered! It’s truly a win/win. Trust me, this makes all the difference for keeping your food fresh and delightful for your guests.
Tip #3-Zone An Area In Your Fridge
If you’ve been following Life In Jeneral for a while, you have more than likely heard me suggest zoning your space before. Creating zones helps you make sense of your layout and get strategic without how you stock and store your inventory. For example, in a kitchen I like to have 5 zones: the consumable zone, the nonconsumable zone, the cleaning zone, the preparation zone, and the cooking zone. Creating these labels helps me have a well functioning and efficient kitchen.
When it comes to a party, I encourage you to have a specific region in your fridge and freezer for all your “party food.” You can say goodbye to all the headaches that come from desperately searching for your different party dishes and ingredients. If you have a chance, I like to clean out my fridge a few days prior (as seen in the checklist) to allow for extra space prior to stocking and cooking. This will make the zoning process even more seamless!

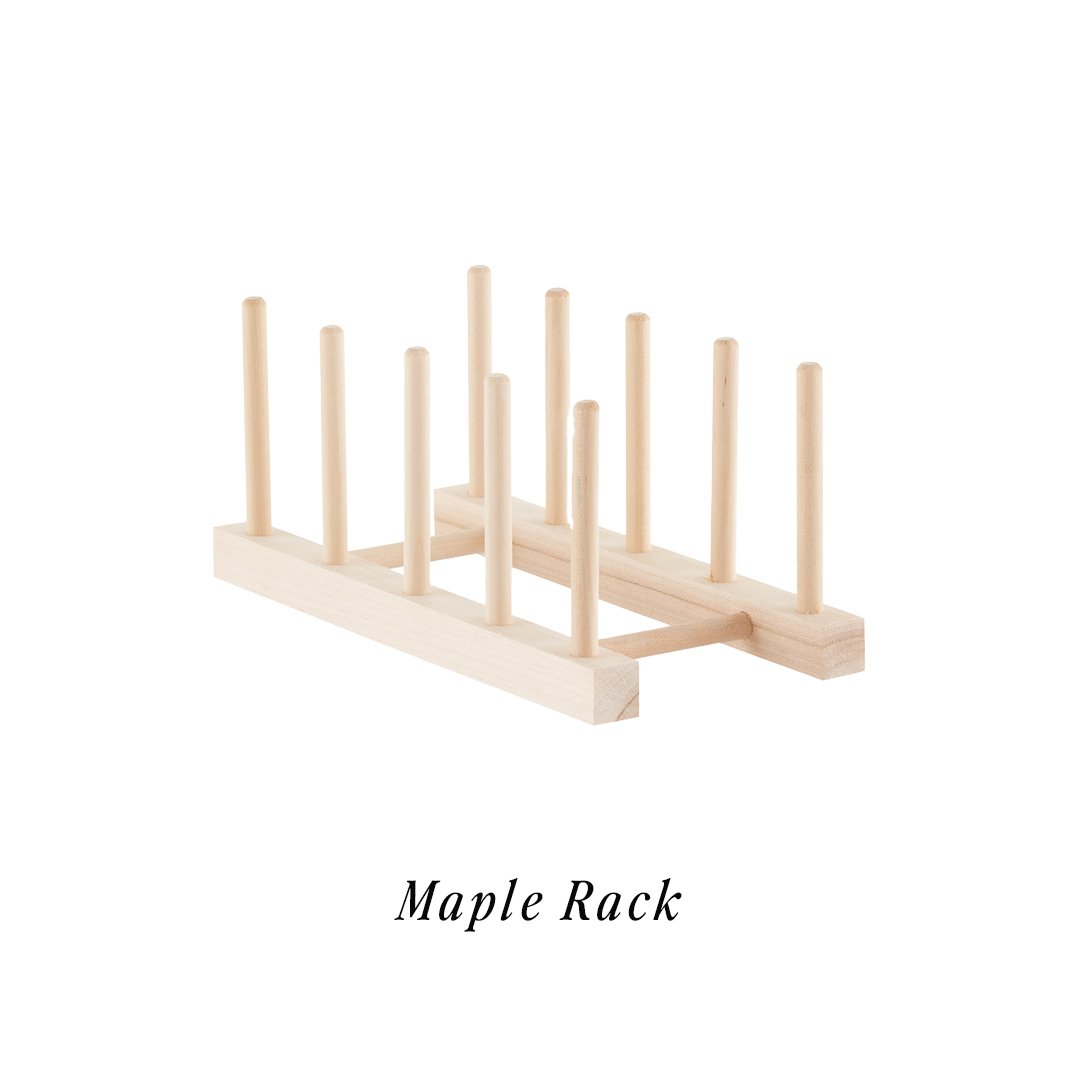
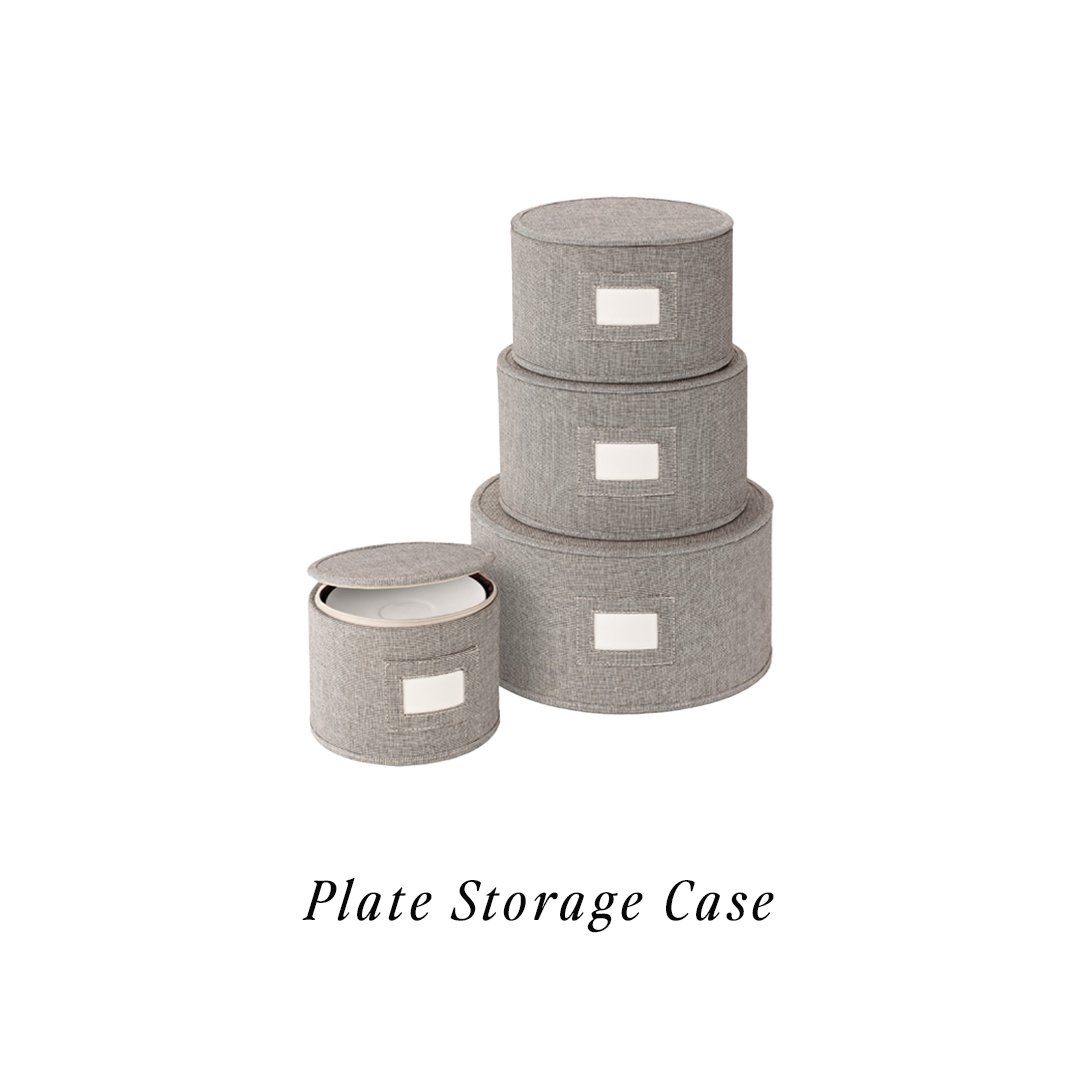
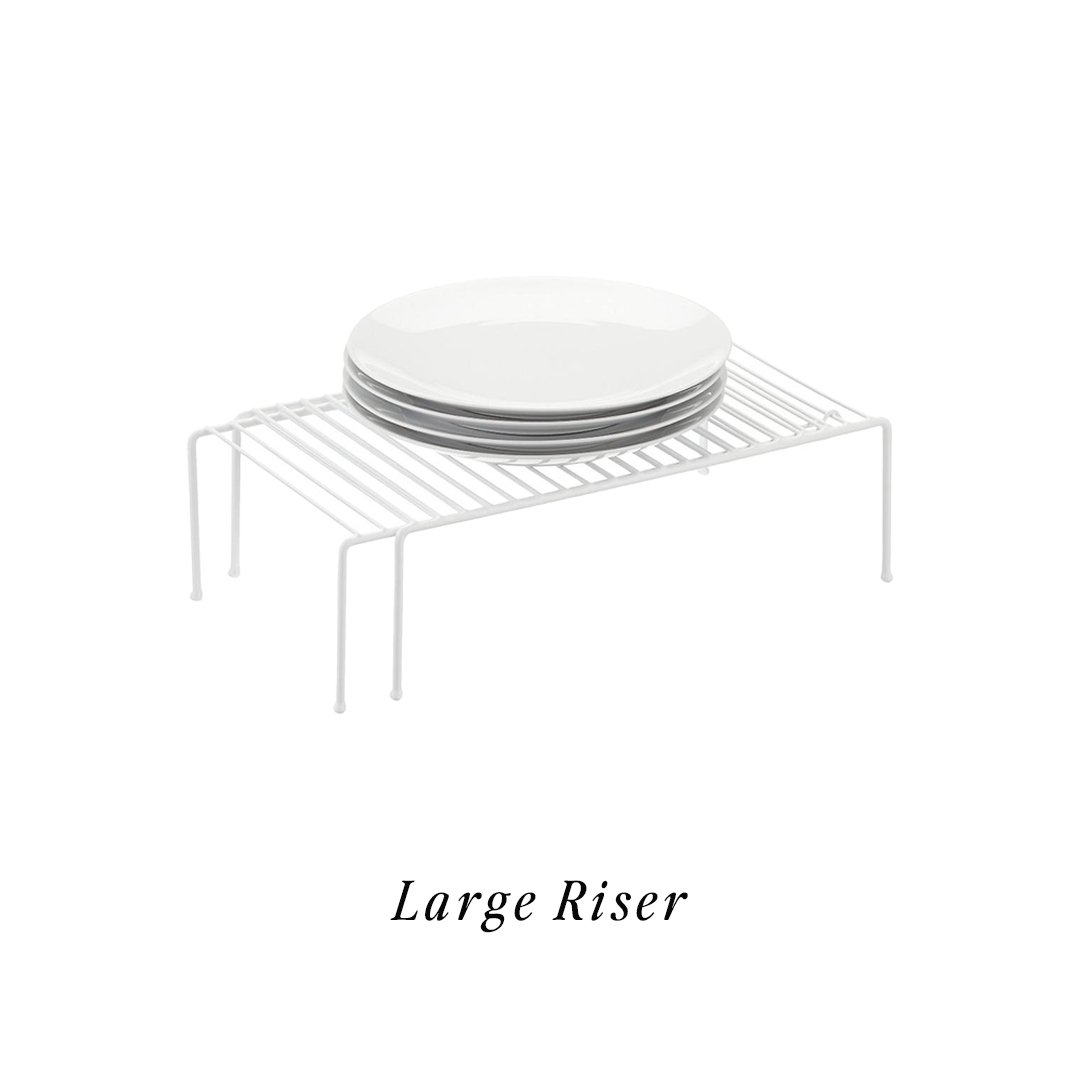
Tip #4-Keep All Entertaining Pieces In One Place
Similar to the method of zoning, the best way to have your entertaining pieces accessible and organized is to keep them all together! Whether the area is a cabinet, drawer, zoned counter space, or any other area you are working with, take the time to place all the party entertaining pieces within the space.
Especially if your entertaining storage spot is on the smaller end, there are a couple of organization products you can use that will maximize your space! Going vertical is one of my favorite storage solutions. I am obsessed with these risers for utilizing vertical space!
If you are using dishware on the fragile side, I absolutely recommend using maple racks to separate plates or keeping them in a plate storage case. Not only will you be able to get the most out of your space, but your entertaining items will be secured a little safer. As an added bonus, your cabinet (or any space you are working with) will look so beautiful and aesthetic!
Tip #5 - Create Labels For Your Trays
If you’ve experienced that panic moment where you have your trays out, but for the life of you cannot remember what dish goes where (and in what bowl or on what tray), this tip is for you! The day before when you are setting up your “Food Zone” with trays, platters, and bowls, use a post-it note to write out the dish and place it exactly where the dish will be placed the following day.
For example, label a post it note with “Greek Salad” and place the post it note in the bowl you want the salad to be in, or “Turkey” on the platter of your choosing. This way, you can take the time the night before to figure out the exact system and structure you want for your dishes. So when the day of the event arrives, all you have to worry about is removing the label and placing the food in it’s designated spot!
After these tips, all you will have to worry about is pressing play on your playlist and indulging in every moment of your event. For more life hacks and entertaining tips, following Life In Jeneral on Instagram Reels, Instagram Stories, Tik Tok, & Pinterest.
XX
Jen