
How to Purge and Get Organized
We hear it often that the hardest place to be in when it comes to organizing is the starting point. Our advice is easier said than done, but simple enough to ‘just start.’ The best place to begin is with purging. We purge with our clients before doing anything else, and the effects of this practice can’t be understated - it makes a HUGE difference. This stage is where most of the client involvement takes place and is an essential part of the organization process. Below, we’ll walk you through the purge process that we do with our clients. Whether you use this simply as a guideline or follow the process step by step, the act of purging is guaranteed to leave you with a satisfying sense of accomplishment.
The details:
Often times, we’re meeting with clients for the first time, so it’s important to build a trust with them. Instead of pushing them at our pace, we prefer to meet them where they are while encouraging them along the way. We have the client leave while we pull everything out and categorize. We go into a much detail as possible when it comes to categorization so they can really see what they own. The team lead (the person who builds the main relationship with our client) walks the client through each category, one at a time so as to help them stay on track and focused.
Once a category is purged, the rest of the team gets to work on organizing and handling what has just been purged. The range of purge time varies greatly. Some clients take 30 minutes and others need 3 days, it all depends on their needs and lifestyle and we adjust accordingly.
The Questions:
To get the most out of your purge, it’s important to ask the hard hitting questions. A lot of times, things and objects can be overlooked because asking yourself about why you’re keeping it is more uncomfortable than actually keeping it, no questions asked. When it comes time to purge, try going through these questions with every single object.
Have you used it?
Is it broken?
Do you have duplicates?
Do you love it?
Would you buy it again today?
The steps:
Step 1: Remove each and every item out of the space you are organizing. All cabinets, drawers and shelves should be bare so you are starting with a blank slate!
Step 2: Categorize and sort. Group all like items together so you can see how many of each you have and where you may need to fill gaps.
Step 3: Discard, donate, and sell. Discard expired items, donate those that can serve others, and sell anything of value/in new condition.
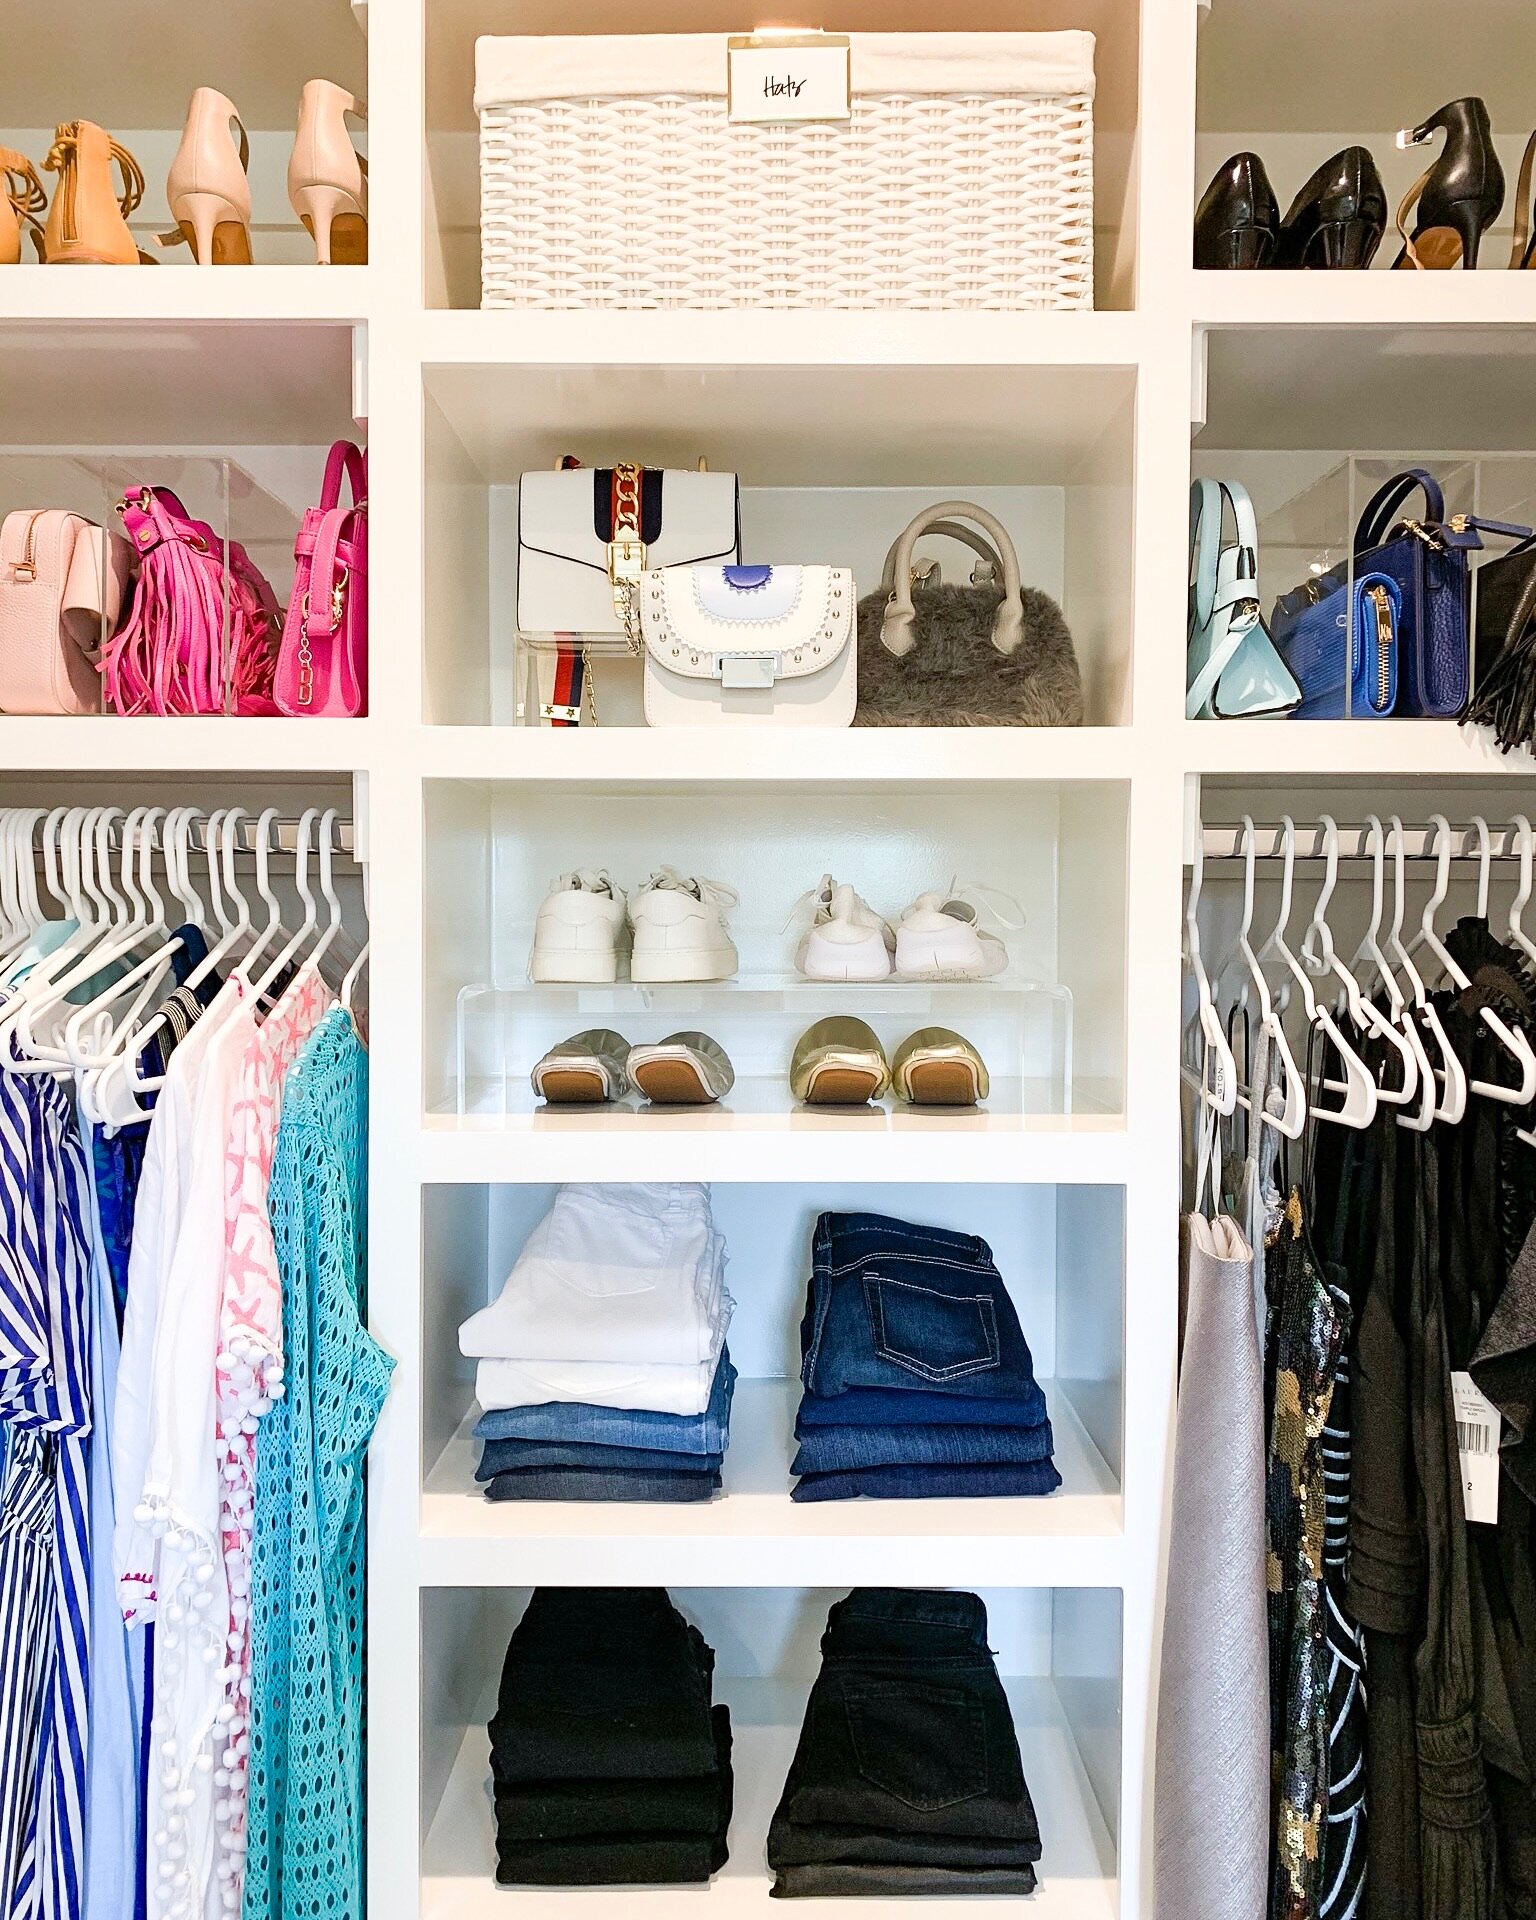
Step 4: Add organizational systems. Put most used products within easy reach and use harder to reach areas for back stock and less commonly used inventory. Remember that containment and labeling are the keys to long term success.
Step 5: Style. Use bins and containers that fit your personal aesthetic. We love clear countertops but don’t hesitate to incorporate and display items that bring you joy.
Step 6: Maintain. Now that each item and category have a home you will always know where to return them when done.
Following these steps will take you from a cluttered, unintentional space to an organized, joy-inducing one. Take your time when it comes to your personal purge, but don’t unpack for too long. Set a timer to keep you aware of timing and most of all, enjoy the process! You’re getting a chance to look through your things, relive memories and say goodbye to the ones that no longer serve you.
Any questions? Let us know in the comments below.